
Wednesday, March 10, 2010
Wednesday, March 3, 2010
calling it finished


Okay...The proportion is off now but I am very pleased with the skin tones...going to call her finished and move on :-o

Tuesday, March 2, 2010
Reinventing myself...again
Today is a new day...you can be anything you want to be
http://www.youtube.com/watch?v=AmIaxeCzE3Y
http://www.youtube.com/watch?v=AmIaxeCzE3Y
Wednesday, February 24, 2010

Thursday, February 18, 2010

Sunday, February 7, 2010

Wednesday, February 3, 2010
Wiped out with a brushstroke
I wiped out a perfectly adorable Yorkie today because of innocent comments by acquaintances...I really have to learn to ignore anything said while I'm painting, or stop working while people pretend to admire a half finished piece
sigh....
sigh....
Thursday, January 28, 2010

Tuesday, January 19, 2010
WIP

 This is Mick Jagger, an 18 year old Dachshund and George, the old Akita...The backgrounds on both will change
Friday, January 15, 2010
wild floorcloth
I brought a roll of canvas with me to Florida so today I started a floorcloth to commemorate last weeks visit to the Miami zoo. I love painting floorcloths...it's the 5 layers of poly and waiting between coats that gets monotonous


Wednesday, December 16, 2009
Pink Flamingos
Today, I pull out the Pazzles to cut SSOPF (you know who you are) flamingos by request. My husband was very tolerant of me transporting half my electronic toys to Florida for the winter so maybe it will pay off. I also want to make a Merry Christmas decal for the front window of the RV. check back for pictures. For all my northern friends, it was 87 here yesterday...yikes
Tuesday, December 8, 2009
It's magic, I tell you...
or alien technology...whatever...here I am being chauffeured down the New Jersey Turnpike, headed toward my 100 days in Exile (that's my other more in-tune blog), and I'm browsing the intertubes, listening to the Carpenters on the I Pod, and writing on my Blog. If that ain't FM, I don't know what is...
Sunday, December 6, 2009
Florida mode


Wednesday, November 25, 2009
Craft fair frenzy
Friday, November 20, 2009
Let's Pretend....
Let's pretend that I'm not leaving for Miami December 9th, only 20 days to...
Close up a 12 room house and mouse proof it
Finish 230+ items for my one craft show I managed to squeeze in while taking care of my mother 24/7, moving the contents of her house, trying to sell said house, surviving a rat bite...yadayadayada
Plan a Xmas party 4 days before we leave
Christmas shopping may have to wait til I get to Florida
Sunday, November 15, 2009
Oh No! Edible art


Monday, November 2, 2009
Versatile vinyl


Saturday, October 31, 2009
New tool is cool!


My dear husband surprised me with a graphic tablet and I am having creativity overload. I wake up at 4 am with new ideas how to utilize it...It will fit right into my brand new secondhand laptop case..I am such a geek....
Wednesday, October 21, 2009
Tuesday, October 20, 2009
Candle, Journals and Paper Rose
 Embedded Candle
 Journals made with recycled Readers digest covers and record album covers...Rose pattern from a Pazzles group on Yahoo
Jornals and a paper rose

I made these journals from recycled Readers digest book covers and old record album covers...The Paper rose is from A Pazzles group on Yahoo...Look for tutorials soon...

Friday, October 16, 2009
Tutorial Print and Cut with Pazzles Inspiration
This is my very first tutorial. Please feel free to comment if you find it useful
Mari
http://www.youtube.com/watch?v=r6gNI110mLA
Mari
http://www.youtube.com/watch?v=r6gNI110mLA
Wednesday, October 14, 2009
Thursday, October 1, 2009

Thursday, September 24, 2009
If your pumpkin explodes...


FYI
ripening apples smell better than pumkins in the same condition

Tuesday, September 22, 2009
More than one way to skin a cat...
...sooooo I was planning my one big show at the Apple Festival next weekend and just found out they are not accepting vendors who are not chamber members...
My very good friend who is a chamber member said "so set up in front of my office"
Everyone going to the festival will have to walk right by me :o)
Thank you Kathleen!!!
(visit her here for that home in the country)
http://74.125.113.132/search?q=cache:OsomQGZmwRUJ:www.kwardrealty.com/+kward+realty&cd=1&hl=en&ct=clnk&gl=us

Wednesday, September 16, 2009

Pumpkinlicious centerpiece for under $5
One pumpkin or gourd I use fresh pie pumpkins cause they are cheap. The one pictured was $2 and measures about 10"
Pick your weapon for peircing...I used an awl. Icepicks, nail and hammer, cordless drill...anything that will pierce the skin and go in the length of your stem...
I used a silk Mum bush from the craft store (on sale of course) silk fall leaves and silk sunflowers. Total cost was less than $3...Use your imagination here. anything that can be shoved in those holes can be your foliage/flowers
Monday, September 7, 2009
Eco-crafting


I'm cleaning my office (or rather looking at all this stuff and wondering why I'm keeping it) so I decided to make use of as many things as I could for one craft.
The scroll saw cut the vinyl records which I softened in boiling water to make these awesome bracelets and barrette. I use the Pazzle to cut the flower petals and cuff shapes out of found materials long waiting in my office for their purpose...not finished by any means...just taking a breather...
Enjoy
Sunday, August 30, 2009
Wednesday, August 26, 2009
Beyond scrapbooking with Pazzles

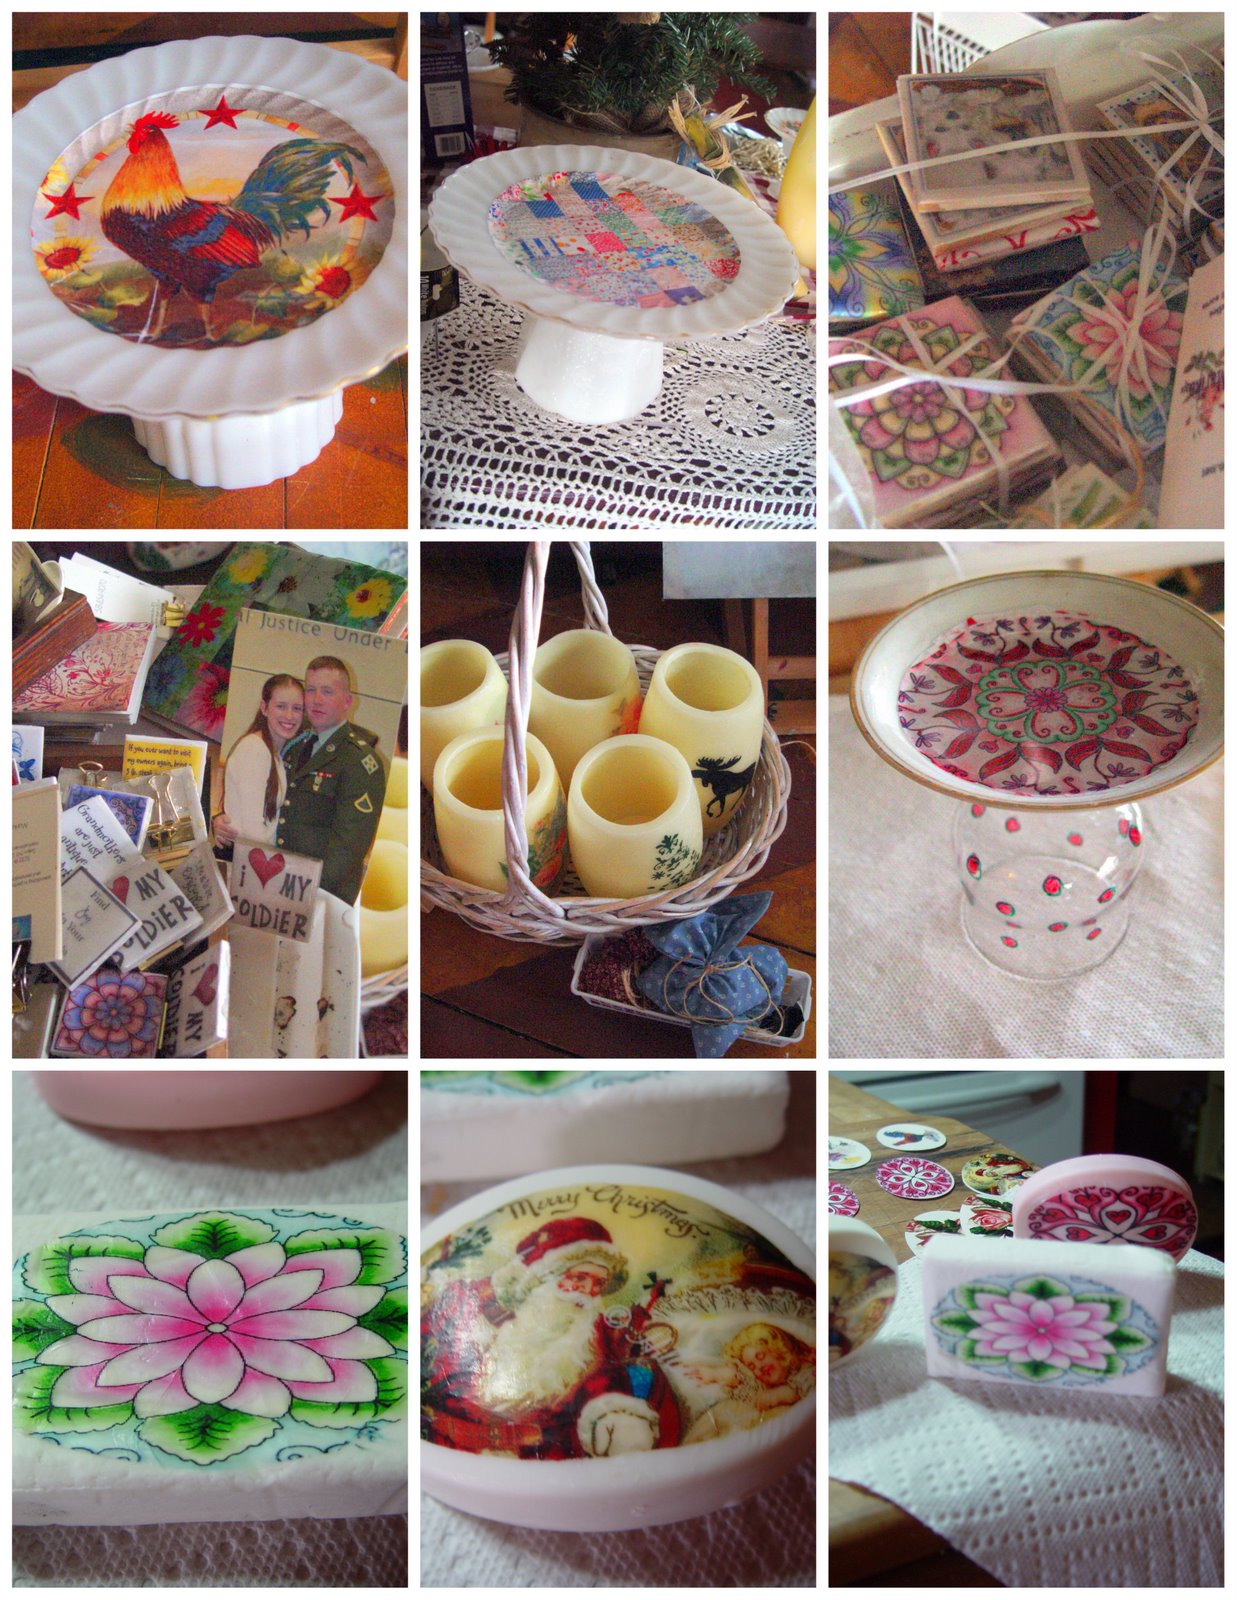
I can't believe there are so few people out there using their cutters for art and crafts? Would love to see what others are doing...here's an example of my candles...
Saturday, August 22, 2009

How to Make Cookie Cutters
from wikiHow - The How to Manual That You Can Edit
There are various kits you can buy to help you make your own cookie cutters. Here's an easy way that uses materials you probably have in your home already.
Steps
- Draw straight lines onto the bottom of an aluminum lasagna pan going lengthwise, using a ruler and permanent marker to be sure the edges are straight. Make the lines at least 1" apart and fill up as much of the bottom of the pan as possible.
- Using your heavy duty scissors, cut the sides off the aluminum pan and then cut out your strips that you drew onto the bottom of the pan. Be careful, cutting aluminum can give you cuts and nicks in your fingers. Wearing gloves is a good idea.
- Set aside your 1" aluminum strips and start designing on your paper. Keep in mind that you only have as much length as your strips to work with. To help you gauge the size of your designs, draw out your design on paper and then use string to measure the outline. Hold the string up to the strip and see if the strip is long enough. Also, since you're working with metal, give 1"-2" allowance for curves and so you can properly close your cookie cutters when you're finished shaping them.
- Take one of your 1" aluminum strips and start molding it around your design. To help make curves, use pens or cups. To make 90 degree edges, use table edges or your ruler. Use anything around the house, just be creative!
- To close your cookie cutter, overlap the ends of the aluminum strips and staple together more than once (three times is a charm!).
- Use a metal file to grind down any nicks and burrs on the edges that will hurt you. Wash and dry your cutter thoroughly before cutting out your cookie dough.
Tips
- For sturdier cookie cutters, go to a hardware store and buy some 1" copper or aluminum ribbon. These will last forever, but to seal the ends together, you will need 2-sided tape and some clamps to hold the ends together as it sets. Wash these metal strips in soap and water before taping together, as they may have oil on them that would interfere with the tape bonding.
- To help fold the ribbon into the design, first draw out the design on paper. Then, trace the pattern onto wood and cut out the piece of wood. Mold the ribbon around the wood. Alternatively, you can cut out the design on 3-5 pieces of cardboard and tape them together instead of using wood.
- Don't have too many long skinny parts or tight curves, as these won't translate well to a cookie. Remember you are making cookie cutters and details will be lost when you bake the cookie dough because it expands in the oven.
- If you want to reuse the cookie cutters or store them away, don't pile anything on top of them that could deform the shape.
- Washing your cutters by hand will help them last longer.
Warnings
- Cutting aluminum metal will give you small cuts or nicks on your fingers, even if you're careful.
- Not recommended for small children.
- The permanent marker will smudge a bit because it doesn't adhere to aluminum too well, but it will be easy to clean off once your cookie cutters are finished.
- Once finished, the cookie cutters will be a bit fragile. Be careful when cutting the cookies, as the cutter may deform somewhat.
Things You'll Need
- Large Disposable Aluminum Lasagna or Roasting Pan (Rectangular is best)
- Heavy Duty Scissors
- Permanent Marker
- Ruler
- Stapler
- Paper (to draw your designs on)
- String
- Newspaper or Cardboard to cover the work surface
Related wikiHows
- How to Bake Cookies
- How to Make Christmas Ornaments with Dough
- How to Make Gingerbread Men Cookies
- How to Make Rice Sandwiches
Article provided by wikiHow, a wiki how-to manual. Please edit this article and find author credits at the original wikiHow article on How to Make Cookie Cutters. All content on wikiHow can be shared under a Creative Commons license.
Subscribe to:
Posts (Atom)